Sailor Neptune's Deep Aqua Mirror
You Will Need:
*Oval shaped mirror piece (I found mine at Jo-Ann's, I think...it was about 6'' long and 4'' wide)

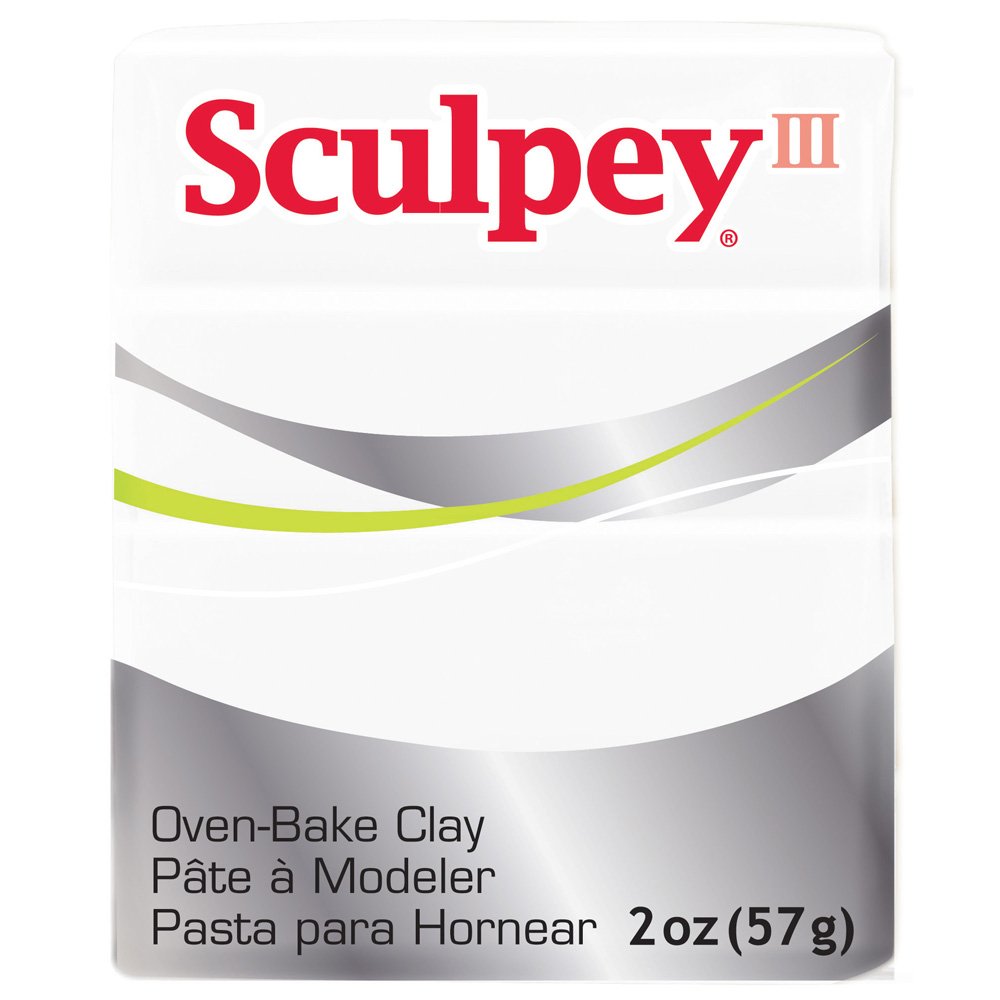
*2- 2oz blocks of white Sculpey clay
*Paper Mache mix (I made mine out of flour and water)
*Newspaper
*Thick wire (the color doesn't matter, it will be covered up)
*Hot glue gun or super glue (if needed)
*Acrylic paint (teal, gold and silver)
*Rhinestones (optional)
Directions (No pictures...I apologize)
1. Remove clay from package and work it until it's flexible. Form it into a ball, then roll it out with a rolling pin. I think it was maybe half an inch thick when I got it how I wanted it.
2. Place the mirror onto the clay, and cut around it so you have a clay piece that is the same shape as the mirror. Then, hefore you bake the clay, etch the Neptune symbol into the center of the clay, so you'll know where to paint it on later.
3. Bake the oval piece according to package directions, and let cool completely. Once it has cooled, apply some hot glue, and attach the mirror.
Now comes the fun part!!
4. Mix your paper mache paste (packaged or homemade) and tear strips of newspaper. You might want to double up on the paper when you dip it in the paste, or it will fall apart. I learned that the fun way...lol.
5. Next, begin to apply the soggy strips of paper around the edge of the mirror. This is very messy, but the paste wipes off the mirror fairly easy once it's dried.
6. For the handle, apply a few layers of paper mache strips to the bottom of the mirror, hanging vertically. Once this dries, take a long strand of the wire and fold it until you have a thick bundle that is about the size of the handle. Place this on top of the paper mache strips, then apply more on top to seal the wire inside.
7. Once this dries, turn the mirror over and repeat the process with the wire. Apply more paper mache on top of this. When it's all dry, the handle will be sturdy. I also reinforced it with hot glue and duct tape to be sure it would stay. Since you will be painting over it, I recommend doing this.
8. Once everything is dry, you can apply another layer of paper mache if you'd like.
Now, it should look like this:

Time to paint!

Finished!

For the Neptune symbol, I used the end of a paintbrush to drip the silver paint into the etching I did before I baked the clay.


Close up shot so you can see the rhinestones I glued on to make it different and unique :)
That's it! I hope this was helpful...feel free to ask me if you have any questions! Also I would love to know what you thought of the finished product!

No comments:
Post a Comment