Thursday, June 19, 2014

Cosplay prop tutorial- Sailor Neptune's Deep Aqua Mirror

I'm currently in the process of making my first ever cosplay prop, completely on my own!! In case any of you were looking  to make this as well, I wanted to explain how I did mine.

Sailor Neptune's Deep Aqua Mirror

You Will Need:

*Oval shaped mirror piece (I found mine at Jo-Ann's, I think...it was about 6'' long and 4'' wide)


*2- 2oz blocks of white Sculpey clay
*Paper Mache mix (I made mine out of flour and water)

*Newspaper

*Thick wire (the color doesn't matter, it will be covered up)

*Hot glue gun or super glue (if needed)

*Acrylic paint (teal, gold and silver)

*Rhinestones (optional)

Directions  (No pictures...I apologize)

1.  Remove clay from package and work it until it's flexible. Form it into a ball, then roll it out with a rolling pin. I think it was maybe half an inch thick when I got it how I wanted it.

2. Place the mirror onto the clay, and cut around it so you have a clay piece that is the same shape as the mirror. Then, hefore you bake the clay, etch the Neptune symbol into the center of the clay, so you'll know where to paint it on later.

3. Bake the oval piece according to package directions, and let cool completely. Once it has cooled, apply some hot glue, and attach the mirror.

Now comes the fun part!!

4. Mix your paper mache paste (packaged or homemade) and tear strips of newspaper. You might want to double up on the paper when you dip it in the paste, or it will fall apart. I learned that the fun way...lol.

5. Next, begin to apply the soggy strips of paper around the edge of the mirror. This is very messy, but the paste wipes off the mirror fairly easy once it's dried. 

6. For the handle, apply a few layers of paper mache strips to the bottom of the mirror, hanging vertically. Once this dries, take a long strand of the wire and fold it until you have a thick bundle that is about the size of the handle. Place this on top of the paper mache strips, then apply more on top to seal the wire inside.

7. Once this dries, turn the mirror over and repeat the process with the wire. Apply more paper mache on top of this. When it's all dry, the handle will be sturdy. I also reinforced it with hot glue and duct tape to be sure it would stay. Since you will be painting over it, I recommend doing this. 

8. Once everything is dry, you can apply another layer of paper mache if you'd like. 

Now, it should look like this:


Time to paint!

Finished!
For the Neptune symbol, I used the end of a paintbrush to drip the silver paint into the etching I did before I baked  the clay. 
Close up shot so you can see the rhinestones I glued on to make it different and unique :)

That's it! I hope this was helpful...feel free to ask me if you have any questions! Also I would love to know what you thought of the finished product!


Thursday, June 12, 2014

Deep Thoughts Thursday- Hollywood beauty vs. natural beauty

Hi all :) Sorry I didn't post anything yesterday...busy day. Today, I have a little bit of a rant for you guys...sorry in advance.

I really hate the way media portrays women. They always make it seem like you HAVE to be a twig with perfect hair, flawless skin, and basically perfect everything to be beautiful. When I was younger, I believed that wholeheartedly, and everyday I would look at myself, and I wouldn't see the beautiful young woman everyone else saw. I saw someone who would have without a doubt been torn to shreds by the world for the way I looked, if enough people paid attention. I wasn't "pretty" like other girls. I hated getting my picture taken because I didn't feel I was photogenic. The worst thing was when guys would say I was nice, but that I didn't have the right look to be with them.

That used to really get me down. I always wondered if I would find someone who would love me for me, even if I didn't fit the mold for what the world said I should be. I went through a lot of bad relationships, and I admit, I did things I'm not proud of. I thought that if I did, I'd be loved, but I was wrong. Every relationship ended, each one seemingly worse than the last, and I gave up. I decided that I would never be worthy enough for any man not to hurt me, so I shut my emotions away so I wouldn't be tempted to fall for anyone again, thinking that would make me feel better. It didn't. I felt worse than ever, and eventually reached a point where every night before I went to sleep, I would pray that I wouldn't wake up again. I was really bad off, and the worst part was, no one knew. And....I felt like this, all because I thought I wasn't beautiful by the world's definition. Luckily, one day, everything changed.

Fast forward to May 16th, 2010. My friend and I were at our other friend's graduation party, enjoying everyone's company and having a fabulous day. During the course of the day, I met Julie's (my friend's) brother, and there was an instant connection between us. I felt it, but brushed it off. We both figured we wouldn't see each other again, but we were so wrong.

That same day, Joshua and I became facebook friends, and started talking every once in a while. The more we talked and got to know each other, my walls started to lower little by little, but I was still super careful. He seemed nice, but he could end up just like the others. I waited for that to happen, but it never did. One day, we both discovered that we had feelings for one another. We waited to pursue a relationship, because we wanted to make sure we were right for each other first. God said yes, and we have officially been a couple since November 6th, 2010, and married since May 16th, 2012.

If there's one thing I've learned in my life, it's that the world is wrong. You don't have to be flawless to be beautiful. You just have to be you. Once I figured that out, my life changed for the better.

If you're reading this, I hope you know you're beautiful. xoxo

Tuesday, June 10, 2014

"Turn it up" Tuesday- David Cook

For my first music post on this blog, I thought I would write about someone I admire very much. If you know me, you know that I'm addicted to American Idol. I've watched it since season 3. I hadn't actually heard of it until I heard Clay Aiken on the radio, and fell in love with his voice. I really liked the idea of the show; essentially plucking someone from the life they've always known, and turning their world upside down. It wasn't until Season 7, though, that my world was turned upside down, and it has never been the same since.

It was the night of the Omaha auditions. There was some good talent, and an equal amount ridiculousness. Maybe about halfway through the show, Ryan Seacrest starts talking about the rockers that have auditioned, following in the footsteps of Chris Daughtry, and...this happened.


Usually, it takes me a little bit to decide if I like someone enough to vote for them...but this man...he had me at "My name is David Cook." There was something about him that drew me to him. Needless to say, after that moment, I was hooked, and still am to this day.

Everything about this man gets me. The way he interprets his songs, the way he carries himself, and, most importantly, the way he puts others before himself. It makes me sad that he's not more well known in the music industry. He has such a unique style, you can't compare him to anyone else. His original songs are magnificent, and the covers he's done (on idol and afterwards) are just as brilliant. My favorite cover of his to date is his interpretation of Chris Isaak's "Wicked Game". Below, you will find a video of that from Denver, in January of this year. I got to witness the magic LIVE.


So, from his audition for American Idol to his cover of Wicked Game, you can see how much he's progressed as an artist.

He has also inspired his fans in many ways. A lot of us help him in his fundraising efforts to find a cure for brain cancer, in honor of his brother who lost his battle in 2009. It is safe to say that we are more that a worldwide group of people who support this rock star from Missouri. We are a family. David and his fans are all very special people, and you never truly know how special they are until you get the chance to meet them.

Seeing David on stage is surreal, but seeing him when he's standing thisclose to you is just unreal. He has a glow about him that is almost not human. He is the sweetest, warmest person in the world. I love hearing him sing, but I could literally listen to that man talk for days. *swoon*

Well...enough rambling. If you love him, leave me a comment and we shall flail together. If you've never heard of him, check out his music on itunes! It will be the best decision you make today.

Monday, June 9, 2014

Munchie Monday- Brownies

I thought I would try to blog everyday, and decided that each day should have a theme. Today is Munchie Monday, and I have a feeling this will be my favorite.

I spend a lot of time online, and much of that is spent looking at random things on stumbleupon. I have saved more recipes than anything else, but have yet to try any of them. I'll get there though!

Somewhat recently, I found a brownie recipe that looked good. Then again, I've never seen something made from chocolate that I didn't like (because, you know, *chocolate*).

This recipe is courtesy of cooklikeyourgrandmother.com (link: click here)

Ingredients

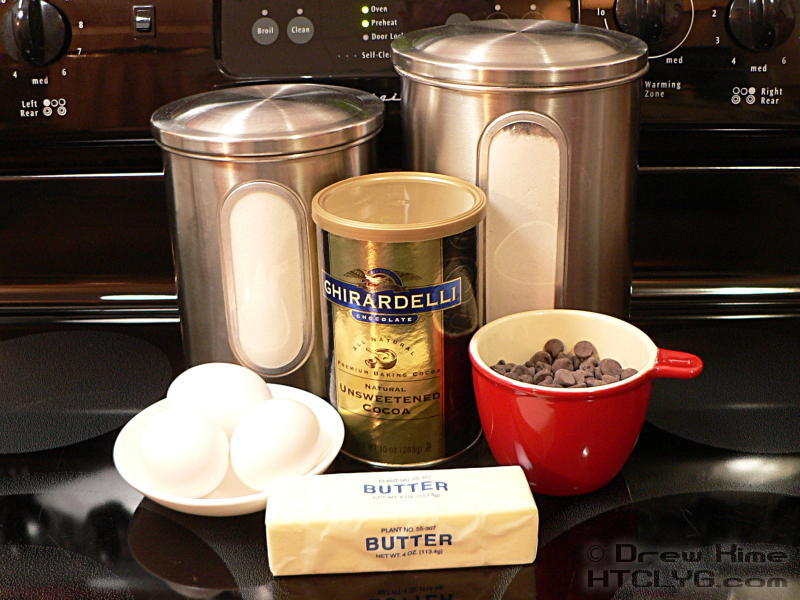
090628-204130_Lg1½ cups sugar
¾ cup flour
¾ cup cocoa powder (see note below)
3 eggs
¾ cup butter, melted
½ teaspoon salt (if using unsalted butter)
¾ cup semi-sweet chocolate chips (see note below)

Directions

A NOTE ON CHOCOLATE: You’ll notice the list of ingredients is very short. That means the quality of the chocolate makes a huge difference. The chocolate flavor is front-and-center — not the sugar, not the richness, the chocolate. I used Ghirardelli unsweetened cocoa powder, and Ghirardelli semi-sweet chocolate chips.
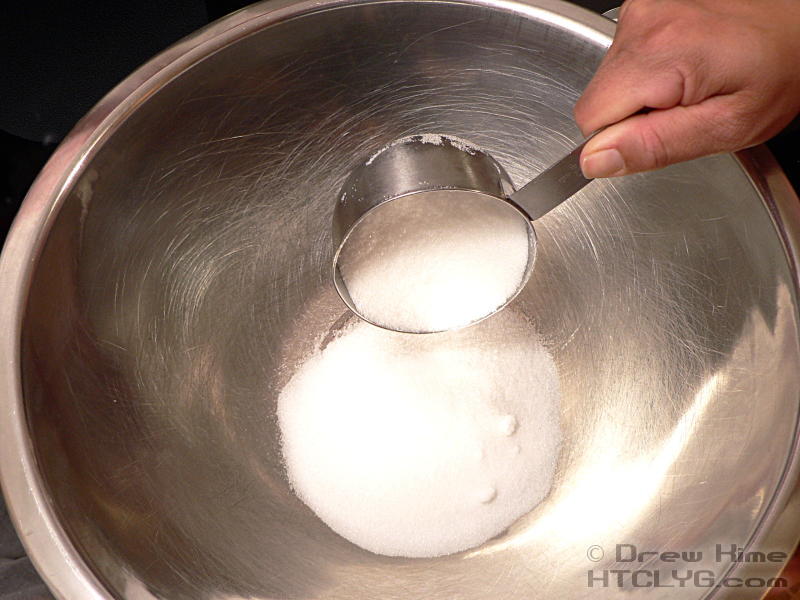
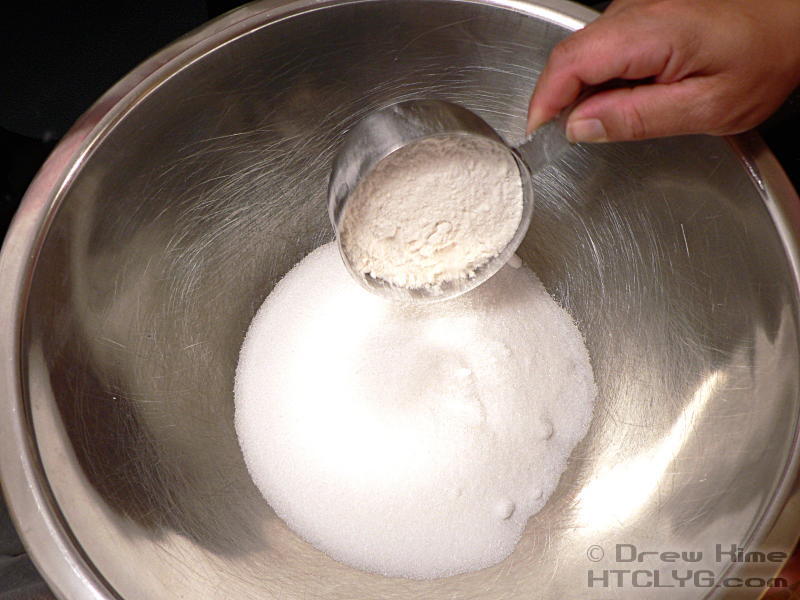
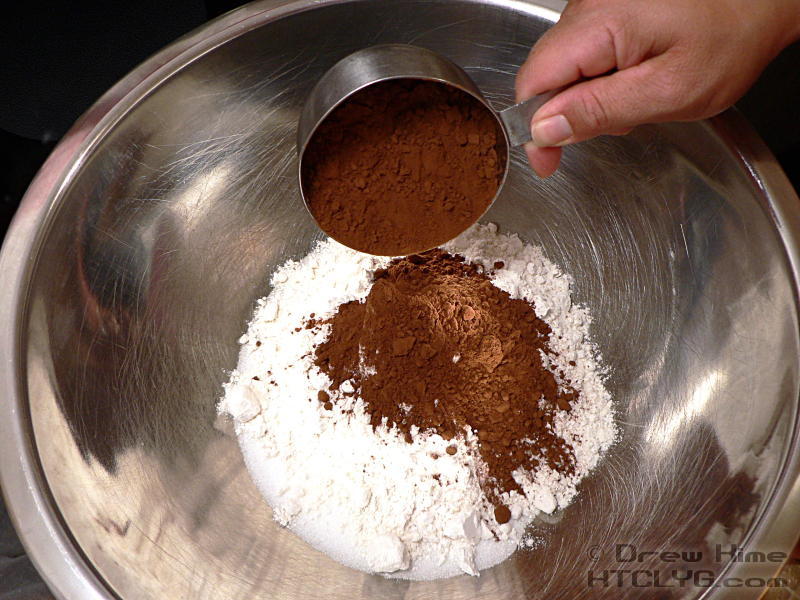
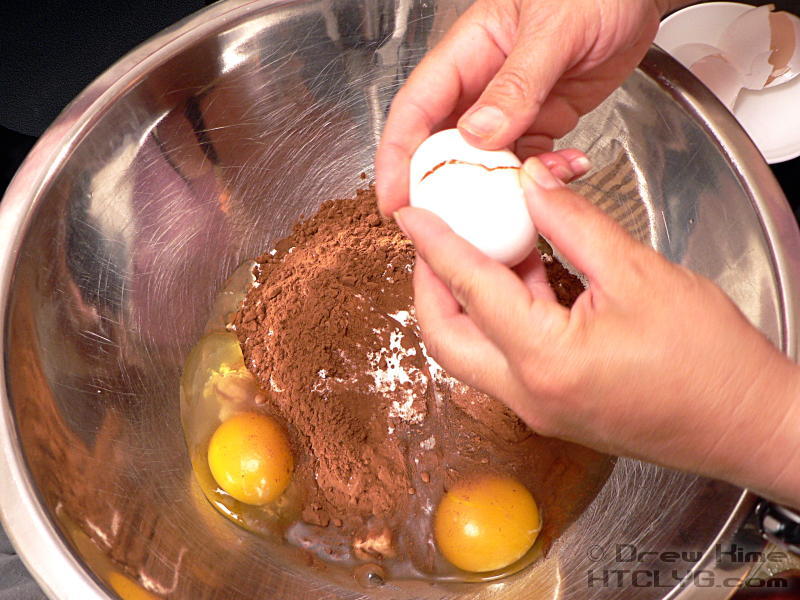
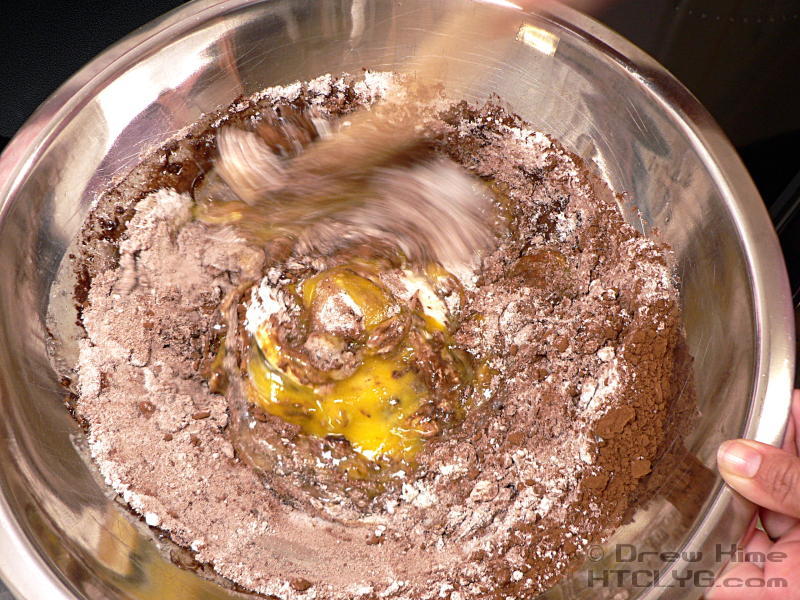
The assembly is about as easy as you can get. Combine the sugar, flour, salt (if using unsalted butter), cocoa, eggs and melted butter and mix.
090628-204337_Lg 090628-204440_Lg
090628-204555_Lg 090628-204649_Lg
090628-204835_Lg 090628-204901_Lg
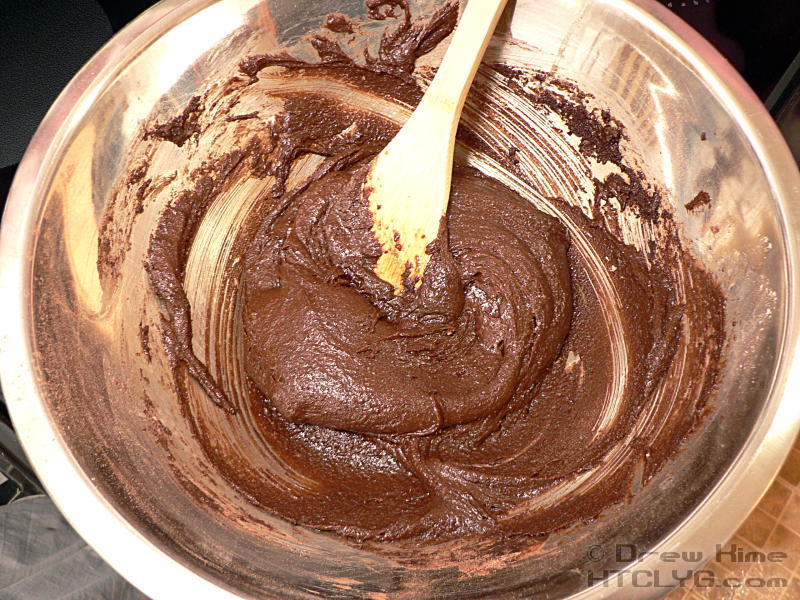
Do this by hand, until the dry ingredients are just incorporated into the wet, and stop. You don’t need to beat it, and in fact want to avoid producing gluten from the flour. (Kneading flour produces gluten, the springy protein that makes bread chewy.)
090628-205003_Lg
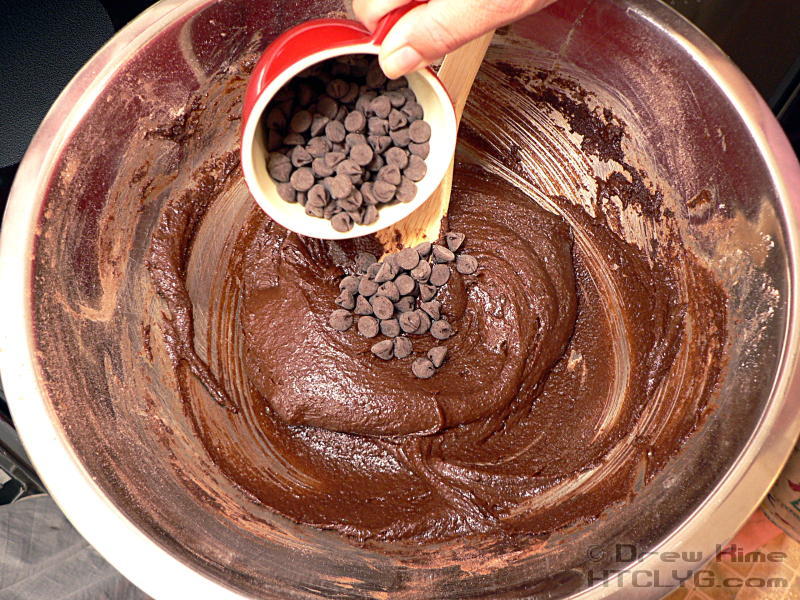
Stir in the chocolate chips.
090628-205017_Lg
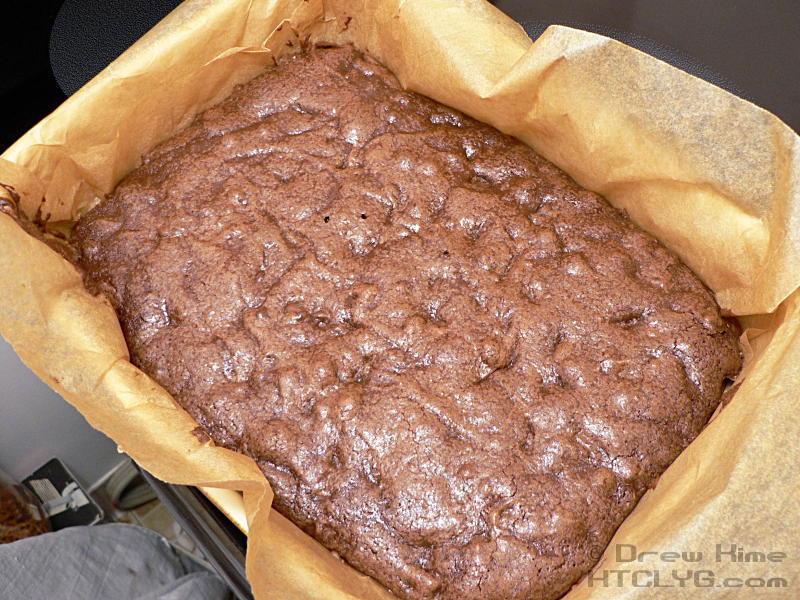
Line a 9×13 baking dish with parchment. I over-did it a little bit here, because I wanted to be absolutely sure it didn’t stick. As long as you cover the bottom you should be good, as it will pull away from the edges while baking.
090628-205244_Lg
Pour the batter and spread it out. Don’t try to spread it like mayo on bread, or you’ll move the parchment around. Poke at it with the tip of a rubber spatula.
090628-205542_Lg
Bake at 325° for 20-30 minutes. It’s done when a toothpick inserted in the tallest part comes out clean. Keep in mind you’ve got chips in there. If you hit one with the toothpick it will have melted chocolate on it. You might need to poke a couple of spots to make sure you aren’t hitting a chip.
090628-213223_Lg
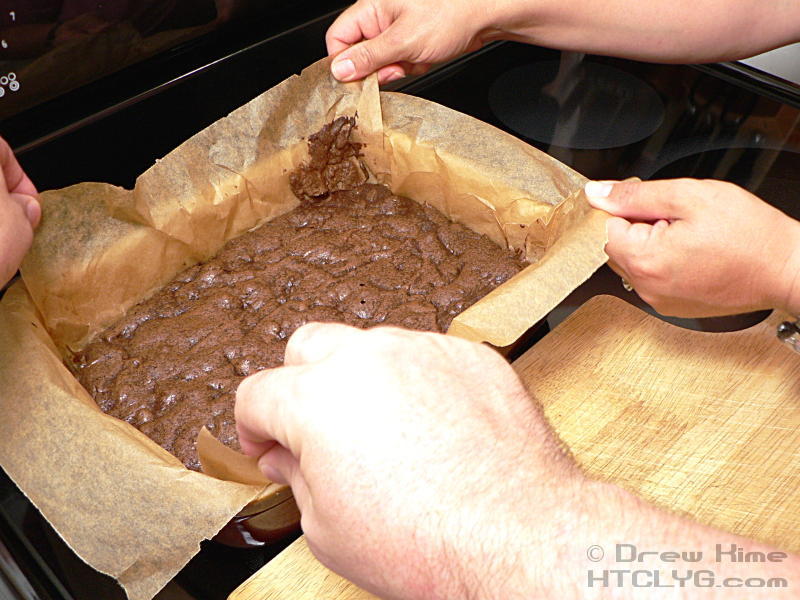
Very carefully lift the parchment out of the baking dish. Get a spare set of hands if you can.
090628-213355_Lg
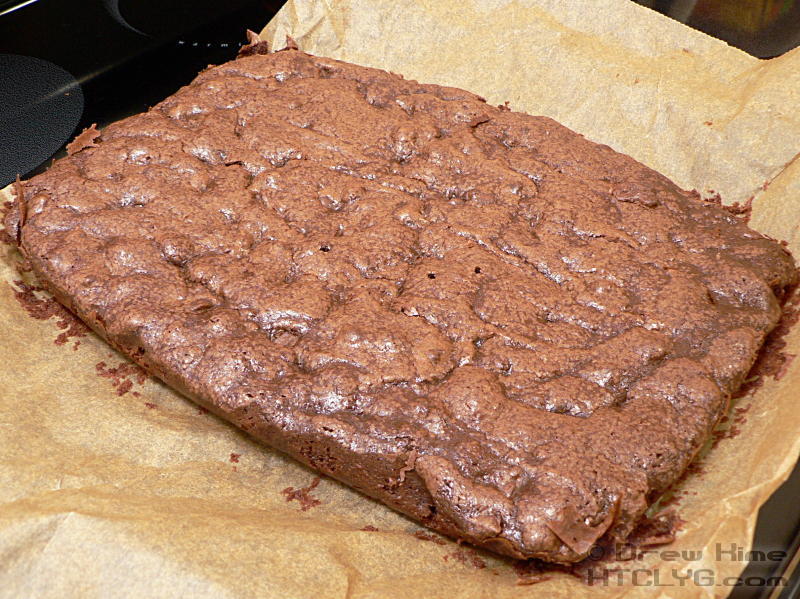
Peel the edges and let cool for a few minutes before slicing.
090628-213606_Lg
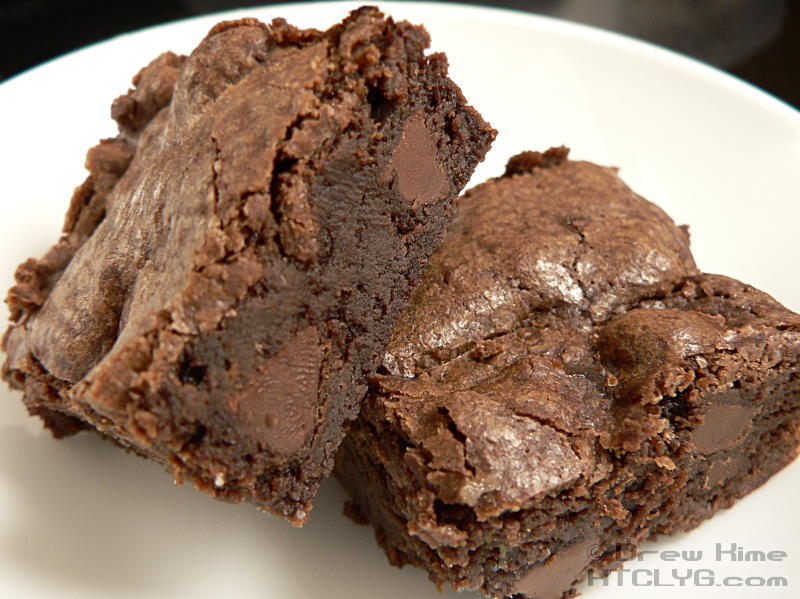
Pour yourself a glass of milk, and that’s it.
090629-170440_Lg
I will definitely be trying these in the (hopefully VERY near) future. Enjoy!

(Rights to recipe and all photos go to cooklikeyourgrandmother.com)

Sunday, June 8, 2014

Jamberry nail wraps

For my first post on this blog, I thought I'd write about my current obsession- Jamberry nail wraps. These things are absolute MAGIC. They're basically instant nail art for your fingers (and toes!). I have always liked doing my nails, or getting them done at a salon, but I always ran into problems with both methods. The nail polish would chip off, sometimes within a day, and I would find myself picking at my nails again. When I would get acrylic nails put on at the salon, that worked out better, but the cost was an issue. I was fairly certain I would never be able to have pretty nails...

And then, a miracle happened.

A friend of mine invited me to her online Jamberry nails party. I had never heard of them before, so I thought I would check them out. We were all told that these nail wraps were chip resistant, and would last up to 2 weeks on fingers, and 6 weeks on toes.Also, each sheet comes with two manicures and two pedicures, along with a fewaccent nails. Being the avid nail killer I was, I took this as a challenge, and ordered my first ever sheet of Jamberry wraps.

It took forever to pick which ones I would get...there are hundreds of designs! I'm not gonna lie, it was slightly overwhelming. But, I got through it and ordered these:

Paint splatter
:
I really loved them, and from that moment, I was hooked. They stayed on a couple days after the two week mark, and never chipped or anything. I also got a ton of compliments on them! These will always be one of my top favorites.


During the party, I also earned a half sheet of wraps, and I really loved them too.

Navy Quatrefoil


Admittedly, this is a design that I probably would not have purchased on my own. Since I got them free, I gave them a try, and would definitely buy them in the future. These also got a lot of compliments.


One thing that is great about Jamberry is they always have a buy 3 get one free deal. Sometimes your consultant will even do a one day exclusive deal during your party where you buy three, and get two free.I had my own party because I had so much fun at Althea's, and on memorial day, I had the opportunity to take advantage of that, and this happened. I ordered these:

Wild Thang


(Side note: I'm rocking these ones right now)


Teal Sparkle


I have a Hard Candy brand nail lacquer that is almost identical to this. <3


Flirty Flair


I like the kind of offbeat design of these ones


And since I bought three...I got these free:

Patriot


Some sheets come with more than one design on them...this was one of those. There is also a flag design, and I *think* one other. Super cute.


Break the rules


I found these interesting...I'm going to use one of the wraps as an accent nail with the flirty flair.


As a hostess, I earned MORE wraps! Yay! I am currently waiting to receive these two:

Candy Chevron


These are really fun and summery <3


Neptune


I am a huge nerd and love cosplaying. My favorite character I've done is the lovely Sailor Neptune from Sailor Moon, so I found it necessary to get these, because of her.


Applying the wraps is super easy too. You can find details on that here


If you decide to try them, I hope you love them as much as I do!

(Disclaimer: rights to all links and photos go to Jamberry. I do not own them.)